Configure HTML widget content
If the widget configuration dialog box is not already open, do as follows:
If the widget is on a Grid layout dashboard, click the Menu icon
 in the top right-hand corner of the widget and select Settings.
If the widget is on a Fluid layout dashboard, on the floating toolbar for the widget, click the Settings icon:
.
In the widget configuration dialog box, click the Configuration tab.
On the left-hand side, click Content.
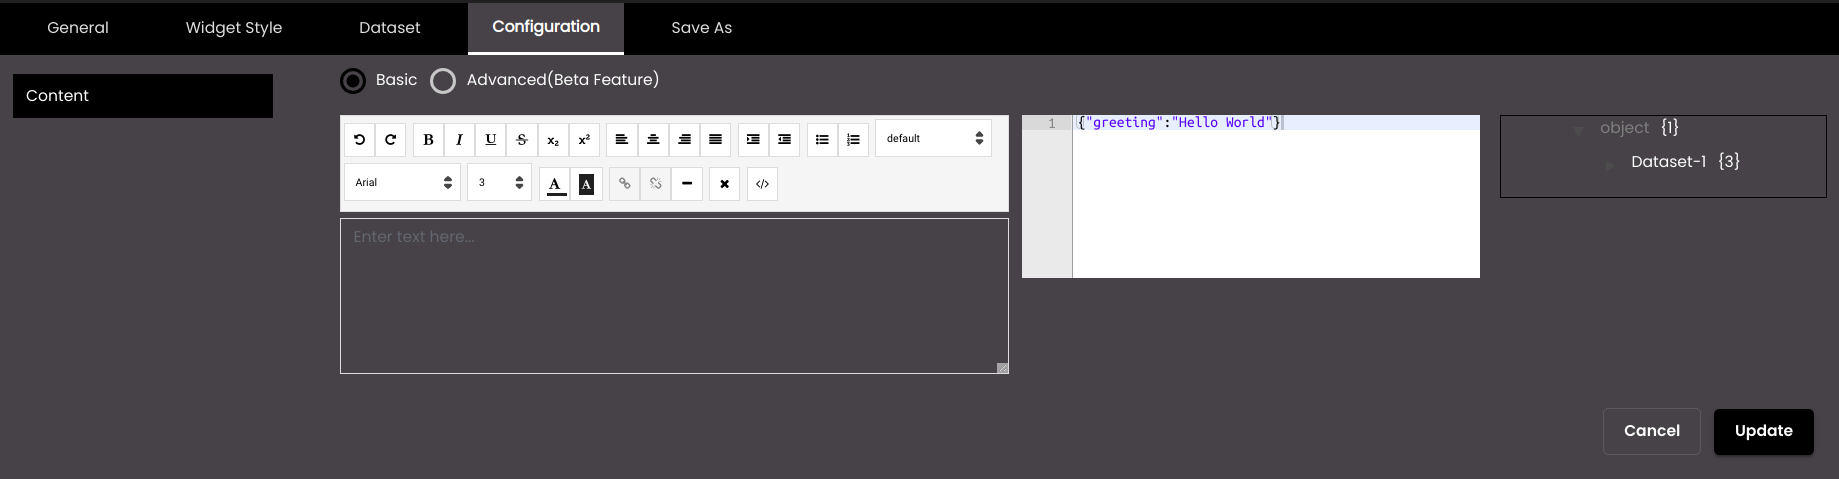
In Basic, a HTML editor is displayed:
To the right of this, the dataset is displayed.
The HTML widget uses the Handlebars.js JavaScript template engine to embed data from the widget dataset within the HTML code. Selected attributes from the dataset can be referenced in the HTML editor by enclosing them in double brace 'handlebars' as illustrated below.
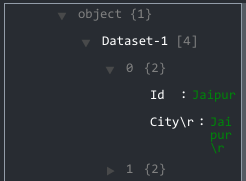
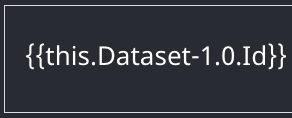
The result is that the widget displays 'Jaipur', which is the value of the 'Id' attribute in this case.
You can also use Handlebars built-in helpers such as
#if,#eachand#withto embed some dynamic logic within your HTML code. For example, the script below will iterate through each Town in Dataset-1 and display its Temperature:{{#each this.Dataset-1}} The temperature in {{this.Town}} is {{this.Temperature}}C {{/each}}You can add static text to the HTML editor as well. Any text that you enter is displayed exactly as you typed it.
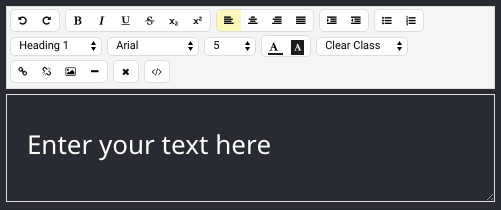
Use the controls at the top of the editor to format text and dataset fields, insert links, and so on.
The Clear Formatting button
 is used to remove any formatting, for example bolding, that you have applied to the text.
To view the HTML code, click the HTML Code button:
 .
.In Advanced(Beta Feature), HTML, JS and CSS editors are displayed:
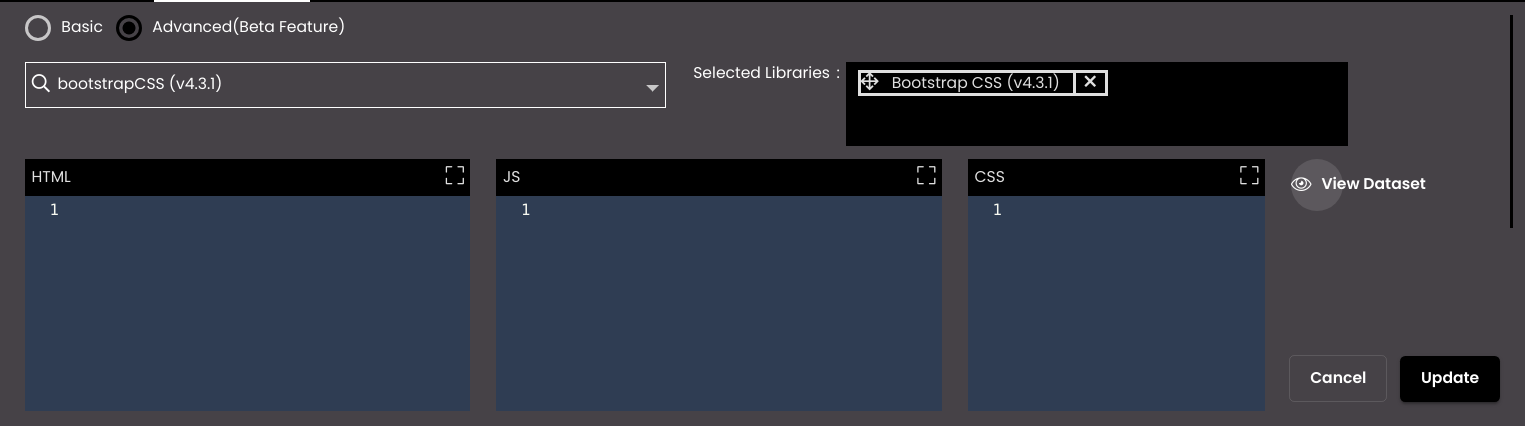
To the right of these, the dataset can be viewed and above these, the external JS and CSS libraries that are to be imported by the HTML, JS or CSS code can be selected.
In the Search Libraries drop-down, you can search for any of the external JS or CSS libraries that have been pre-configured such as D33d, D3, Jquery, bootstrap, bootstrapCSS, tailwindCSS or bulmaCSS. Once selected, they will be displayed in the Selected Libraries panel in which they can be re-ordered or deleted. In order to to make rich and intuitive custom visualisations than the Basic HTML, these libraries can be selected and their corresponding HTML or JS or CSS code can be written which imports them.
Click Update.