Configure floormap widget floors
If the widget configuration dialog box is not already open, do as follows:
If the widget is on a Grid layout dashboard, click the Menu icon
 in the top right-hand corner of the widget and select Settings.
If the widget is on a Fluid layout dashboard, on the floating toolbar for the widget, click the Settings icon:
.
In the widget configuration dialog box, click the Configuration tab.
Click Add Floor.
A new floor is created for you to configure.
On the left-hand side of the tab, you can rename the floor. Click the Actions icon
 and then click the Edit icon. Enter the new name and click the Update icon.
You can also translate this text by clicking on the Translate icon
 and entering the translation of the desired language selected. Auto-suggestions are also available where the reused contents are auto-suggested.
Configure the drop-down panel that is displayed.
Setting
Description
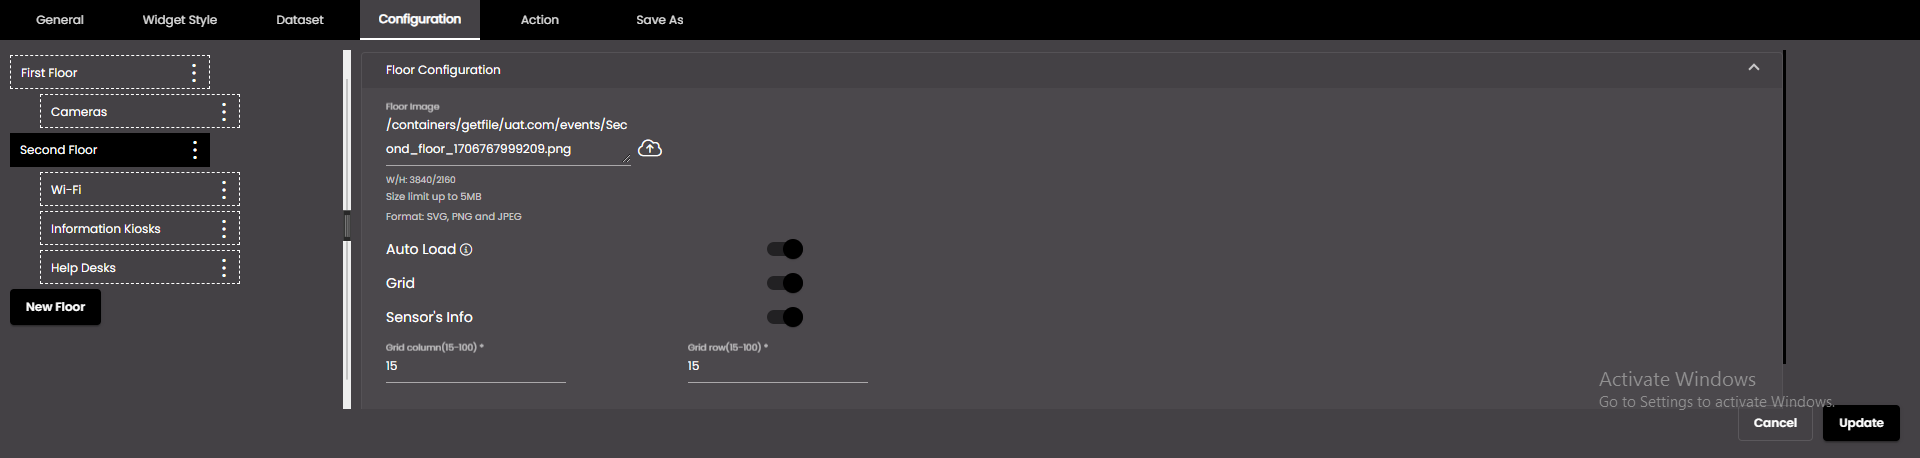
Floor Image
Select an image of the floor.
Note
Image must be in the svg, png or jpeg format only.
Size of the image must not be more than 5 MB.
Auto Load
If enabled, displays the floor always on the floor map when the map is refreshed.
Grid
If enabled, displays a grid on the floor map.
Sensor's Info
If enabled, displays the summary of the floor which contains the number of sensors or data points on each layer.
Grid column
The number of columns in the grid. It is displayed if Grid is enabled.
Note
Allowed values are from 15 to 100.
Grid row
The number of rows in the grid. It is displayed if Grid is enabled.
Note
Allowed values are from 15 to 100.
Note
Please enable Auto Load and ensure Grid column and Grid row is within the given range in order to view the Update button.
Click Update.
You can add further floors if you want to. To do this, click New Floor.
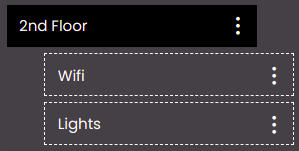
For each floor, you can add or nest layers inside one another. In the following example, two nested layers have been set up, each showing data for a particular type of sensor on the floor. In the floor panel, you can select one or both of these to display.
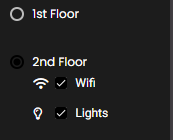
Selecting 2nd Floor would select all of the nested layers for display.
To add a nested layer, click the Actions icon
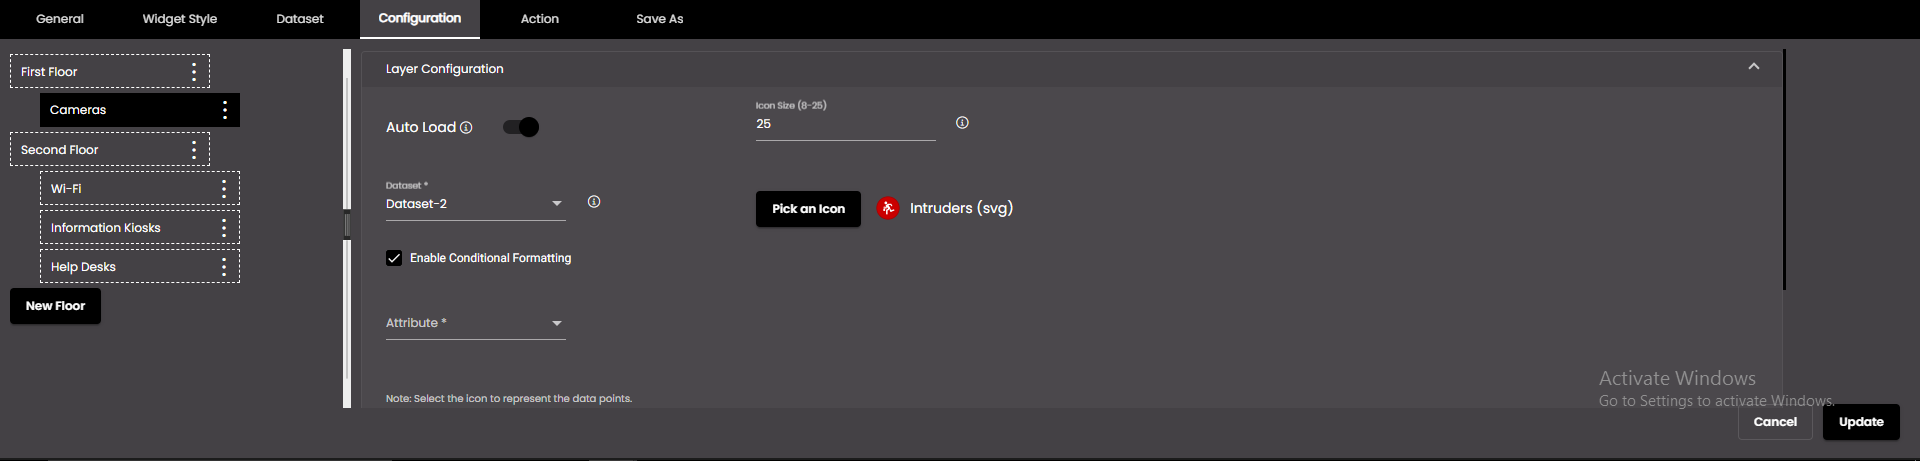
on the layer in which you want to add the nested layer. Click the Add Layer icon. A nested layer is created for you to configure.Configure the drop-down panels that are displayed.
Setting
Description
Auto Load
If enabled, displays the sensors or data points on the floor when the map is refreshed.
Icon Size
The size of the icon to represent the sensors or data points on the layers in the floor map.
Note
Allowed values are from 8 to 25.
Pick an Icon
Click this to select an icon to represent the sensors or data points on the layers in the floor map.
Dataset
The dataset that is selected.
Note
Select a unique dataset for each layer on the floor.
Enable Conditional Formatting
Displays the conditional formatting setting which is used to configure different colors for the icon based on the value of a dataset field.
Note
It is not applicable for SVG icons.
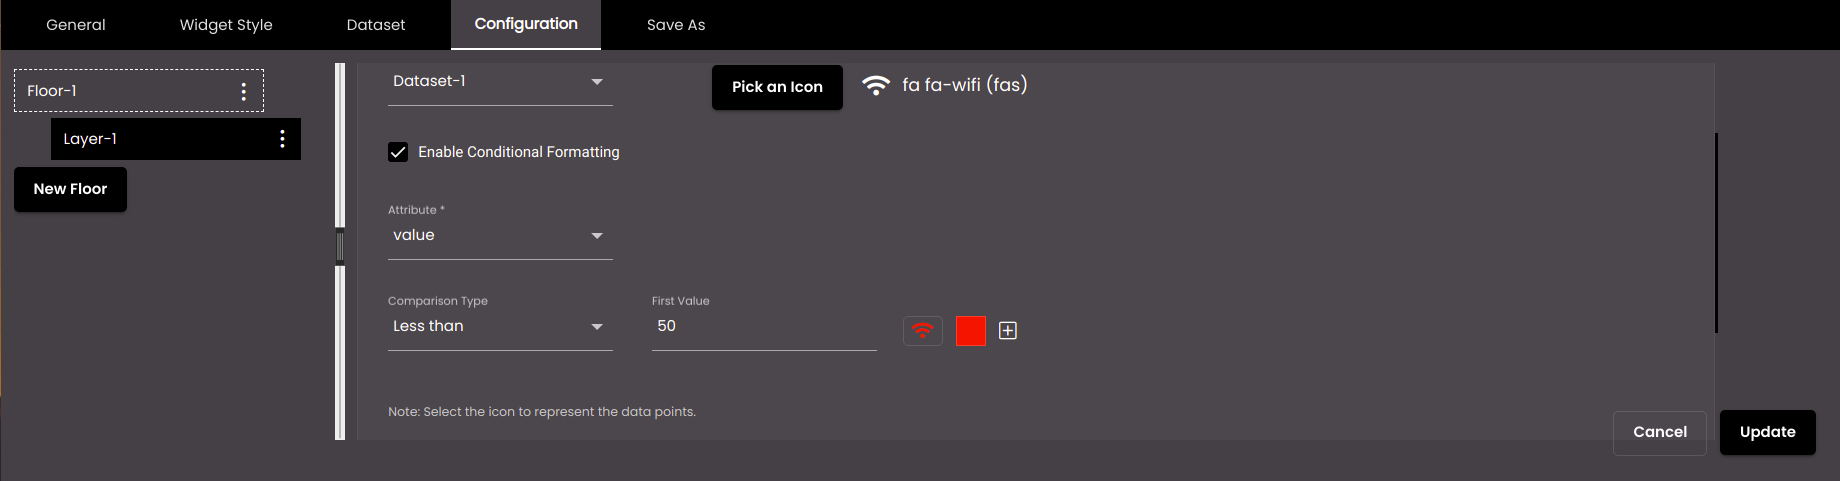
If Enable Conditional Formatting has been selected above, then configure the following formatting options.
Setting
Description
Attribute
The dataset field that is used to determine how each sensor or data point should be displayed.
Comparison Type
The comparison to be performed on the dataset Attribute and the value in the First Value box to the right.
First Value
Select the literal value to be compared with the value of the selected dataset Attribute.
Second Value
The upper value of the range, if Comparison Type is Between.
Color
Select the display color to be used for icon which meet this condition.
+
Enables you to add another condition.

Removes the added condition.
Setting
Description
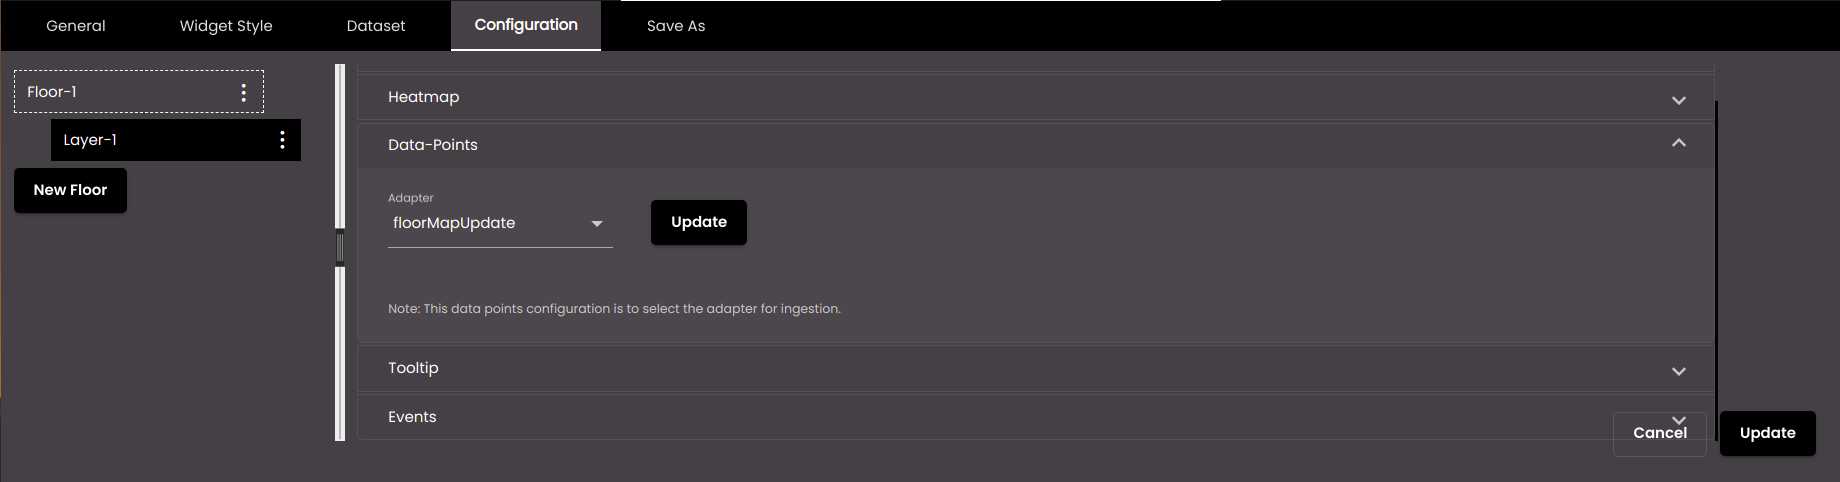
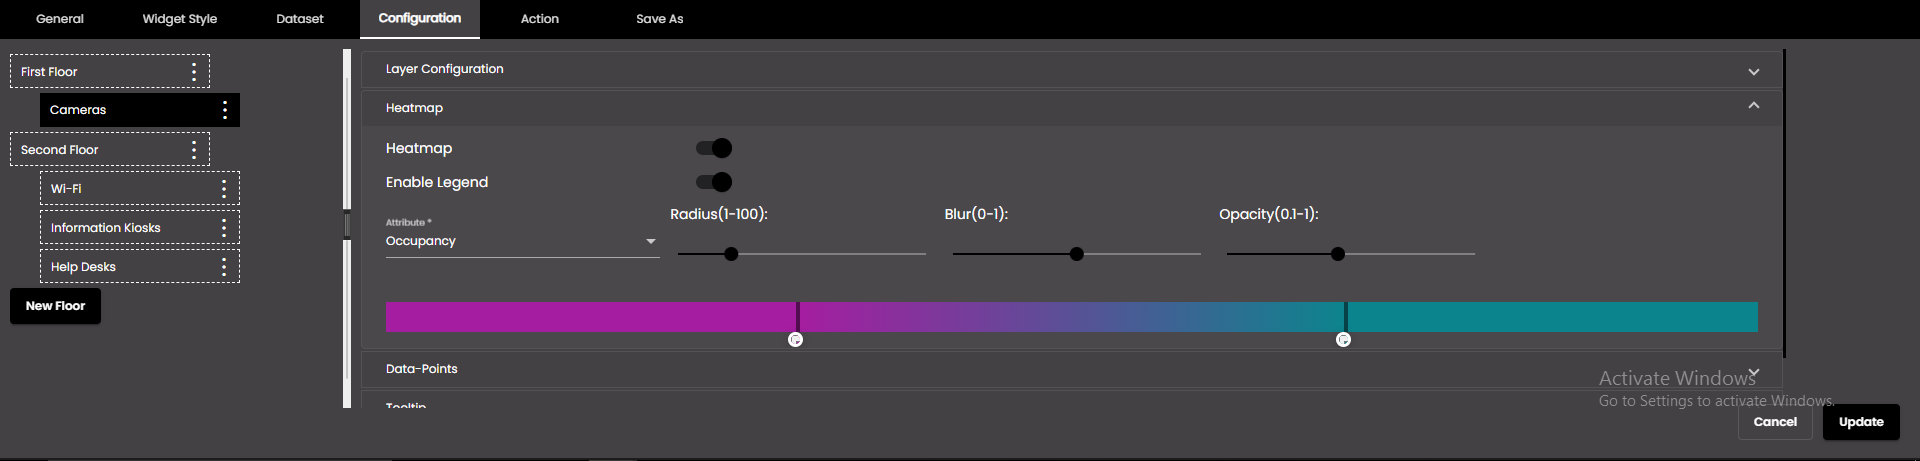
Heatmap
If enabled, displays a continuous color scale to represent the value of the Attribute field for each sensor or data point.
Enable Legend
If enabled, displays the color scale for the sensors or data points ranging from the minimum to the maximum value.
Attribute
The dataset field that is used to determine how each sensor or data point should be displayed. It is displayed if Heatmap is enabled.
Radius
The size of the circle for the heatmap shown around the sensor or data point. It is displayed if Heatmap is enabled.
Note
Allowed values are from 1 to 100.
Blur
The amount of blurring for the heatmap shown around the sensor or data point. It is displayed if Heatmap is enabled.
Note
Allowed values are from 0 to 1.
Opacity
The amount of opacity for the heatmap shown around the sensor or data point. It is displayed if Heatmap is enabled.
Note
Allowed values are from 0.1 to 1.
The following settings refer to the display of fields from the dataset in the tooltip.

Setting
Description
Dataset field check boxes
There is a check box for each field in the dataset. Select each one that you want to display.
Display Name
The label to use for each dataset field that you want to display.
You can also translate this text by clicking on the Translate icon
and entering the translation of the desired language selected. Auto-suggestions are also available where the reused contents are auto-suggested.Order
The order in which the dataset fields needs to be displayed.

Setting
Description
Select Events
The event(s) on which the widget information is updated. The default events are as follows:
MAP_ENTITY_CLICK The user clicks a marker on a map widget.
DASHBOARD.REGION_CHANGE_EVENT The user selects a different Region from the Region filter.
DASHBOARD.DATE_RANGE_CHANGE_EVENT The user selects a different time period from the Date filter.
TABLE.SELECT_ROW_EVENT The user selects a row in a datagrid widget.
DASHBOARD.LANG_CHANGE_EVENT The user selects a different language from the Language drop-down at the top of the main screen.
DASHBOARD.GENDER_CHANGE_EVENT The user selects a different gender from the Gender filter.
DASHBOARD.AGE_RANGE_CHANGE_EVENT The user selects a different age range from the Age Range filter.
DASHBOARD.GRANULARITY_CHANGE_EVENT The user selects a different granularity from the Granularity filter.
Event Mapping
The parameter values that are passed when an event occurs. Select the parameter(s) that you want to pass and, for each one, select the column that would supply the value for the parameter.
These parameter values will be passed to the widget that gets updated when an event occurs.
Click Update.