Sign in
Users that are created in the Quantela platform can sign in with their credentials.
Ensure that you have received an email that contains sign-in credentials – a user name – and a link to create your password.
In the email, click the link to open the create password web page in your web browser.
On the web page to which the link takes you, select your preferred language from the language drop-down.
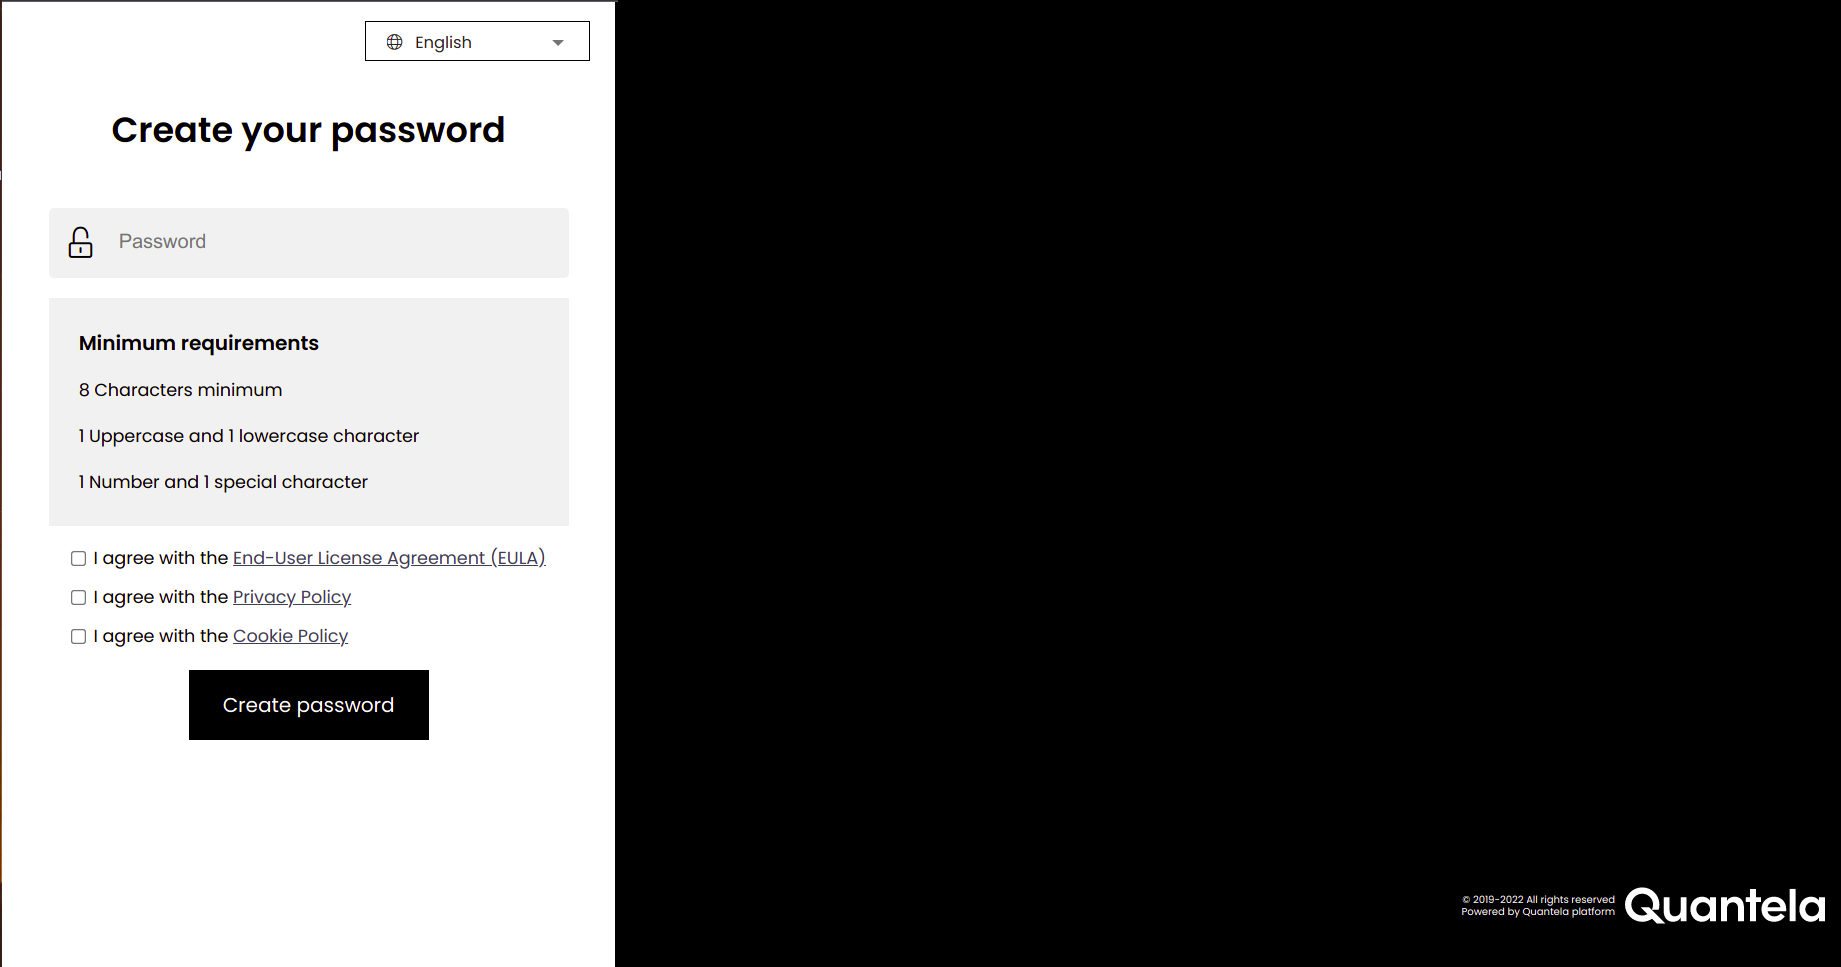
Enter your new password. The password must contain:
at least 1 capital letter
at least 1 small letter
at least 1 number
at least 1 special character (Allowed special characters are $@#!%*?,.=_~`:;+{'}'/()'^[]|-)
at least 8 characters
at most 32 characters
Accept the EULA, Privacy Policy and Cookies Policy by either selecting their respective check boxes or clicking on their link and accepting them in the panel which shows the complete details of each of them in drop-downs.
Click Create Password.
Note
A time limit has been configured tenant-wise to create your password. Once exceeded you need to reload the page and create your password again.
A message is displayed, telling you that the password has been created. Click Proceed to sign-in.
On the next web page that is displayed, select your preferred language from the language drop-down.
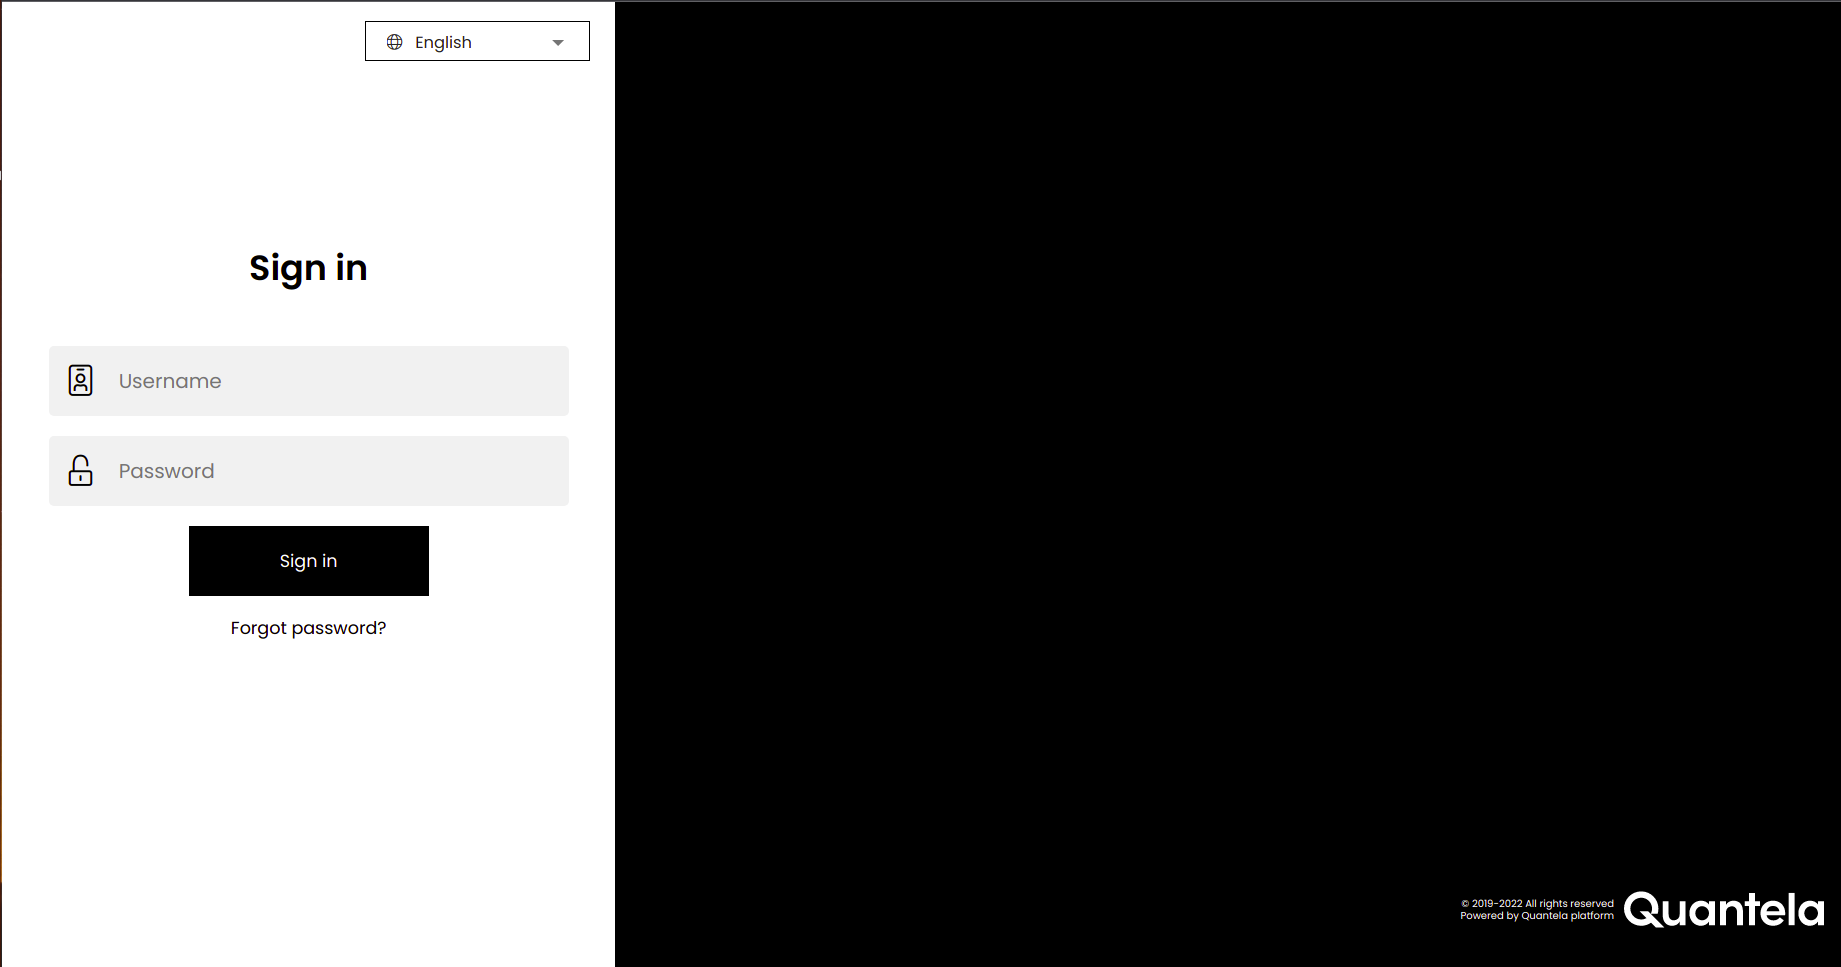
In the Username and Password boxes, enter your user name and password, respectively.
Note
The user name must be at most 100 characters out of which at most 70 characters are allowed for the tenant part and at most 30 characters for the part before the @ symbol.
The password must be from 8-32 characters.
If Allow Password Autofill is enabled in Admin Panel > Advanced and the user name and password was saved earlier after sign in, the user name and password will be displayed in the sign in screen for you to select and once selected, they are automatically filled in their respective fields so that they needn't be re-entered. For more information, see Configure general settings.

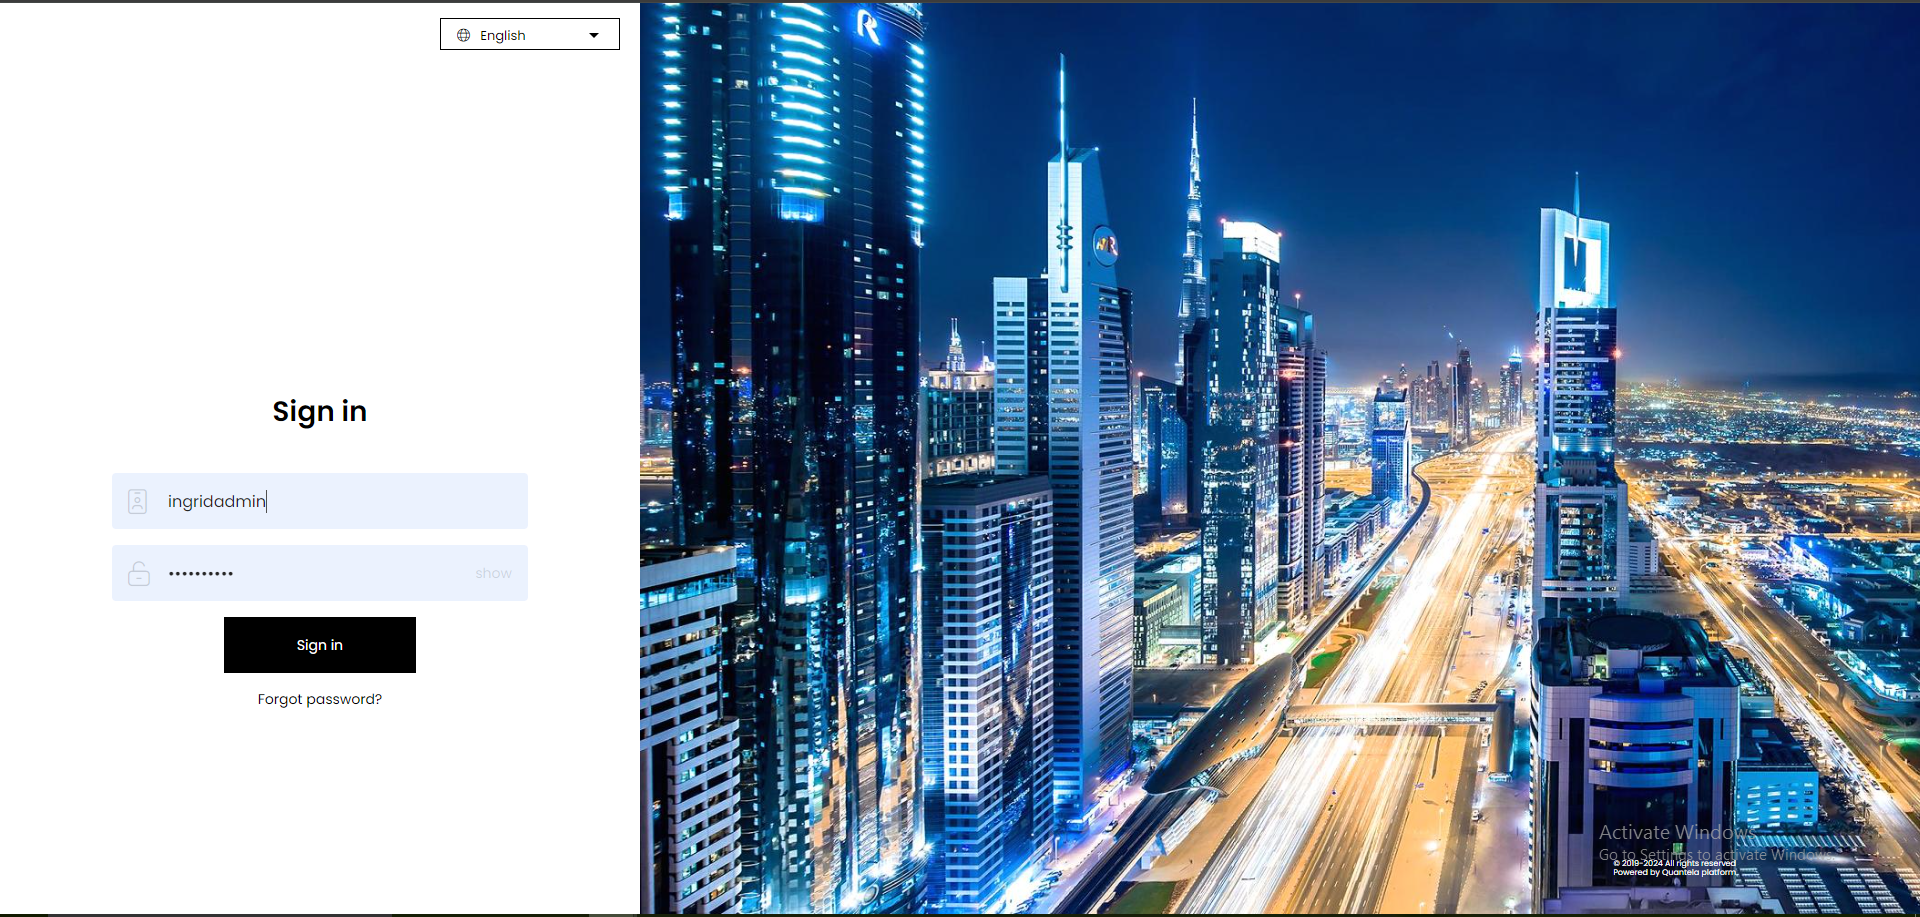
Click Sign in.
If you see the message
Invalid Username or Password, check and re-enter your credentials.Note
If you enter the incorrect credentials, a CAPTCHA will be displayed for you to solve. This CAPTCHA will be displayed until you enter the correct credentials along with solving it or until 24 hrs since it was first displayed.
Caution
If you enter the incorrect credentials five times consecutively, the account gets locked for five minutes.
Note
A time limit has been configured tenant-wise to sign in. Once exceeded you need to reload the page and sign in again.
If you had logged in earlier and enabled multi-factor authentication by selecting Email Authentication or Authenticator App or both then a verification code will be sent to the authentication type that has Set as primary enabled in it. For more info on multi-factor authentication, see Security.
Note
Currently, we have tested the Authenticator App settings with Google, Microsoft and LastPass authenticator apps. Ideally, these should work with all the other authenticator apps as well available in the Play Store or App Store.
Note
The roles using both the platform and the mobile app, won’t be able to access the mobile app as of now if the multi-factor authentication is enabled for such a user.
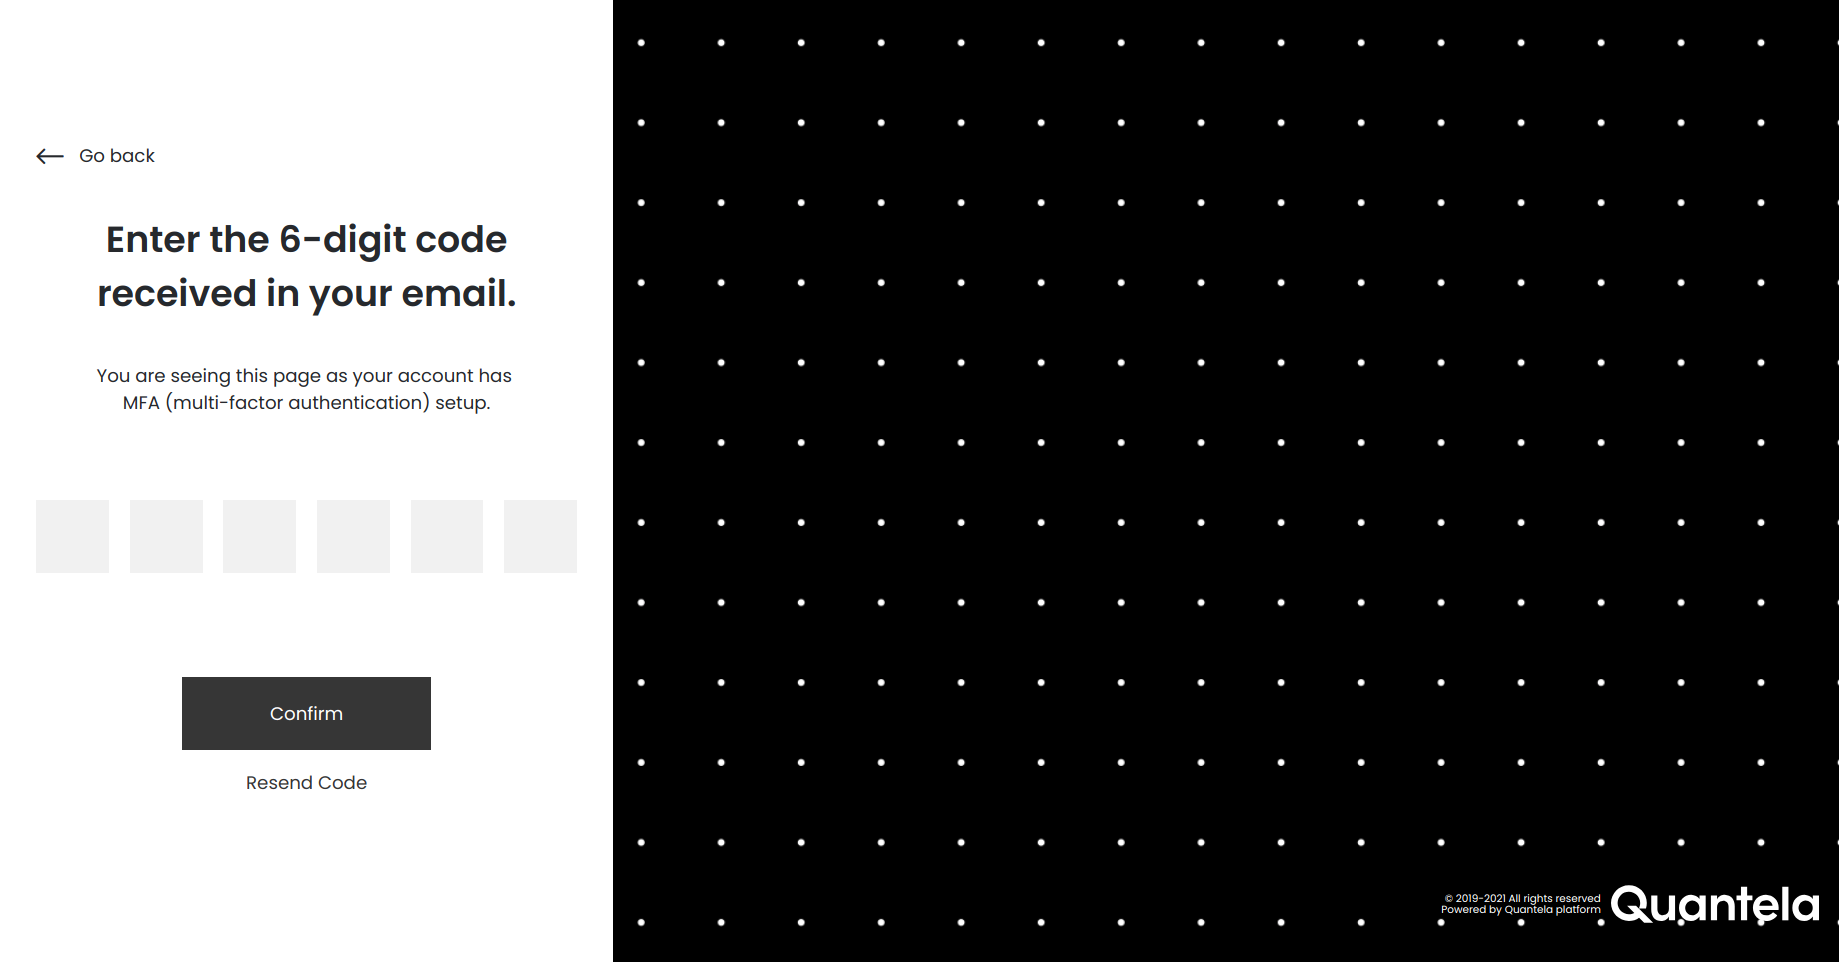
Enter the 6-digit code received. If the code was to be sent to your email and you didn't receive it, then click on Resend Code. After entering the 6-digit code click Confirm.
Note
At most five codes for a session can be received when Email Authentication option is selected as the primary mode in Security.
The session time to complete logging in is 5 mins.
If you enter the incorrect verification code five times consecutively, the account gets locked for five minutes.
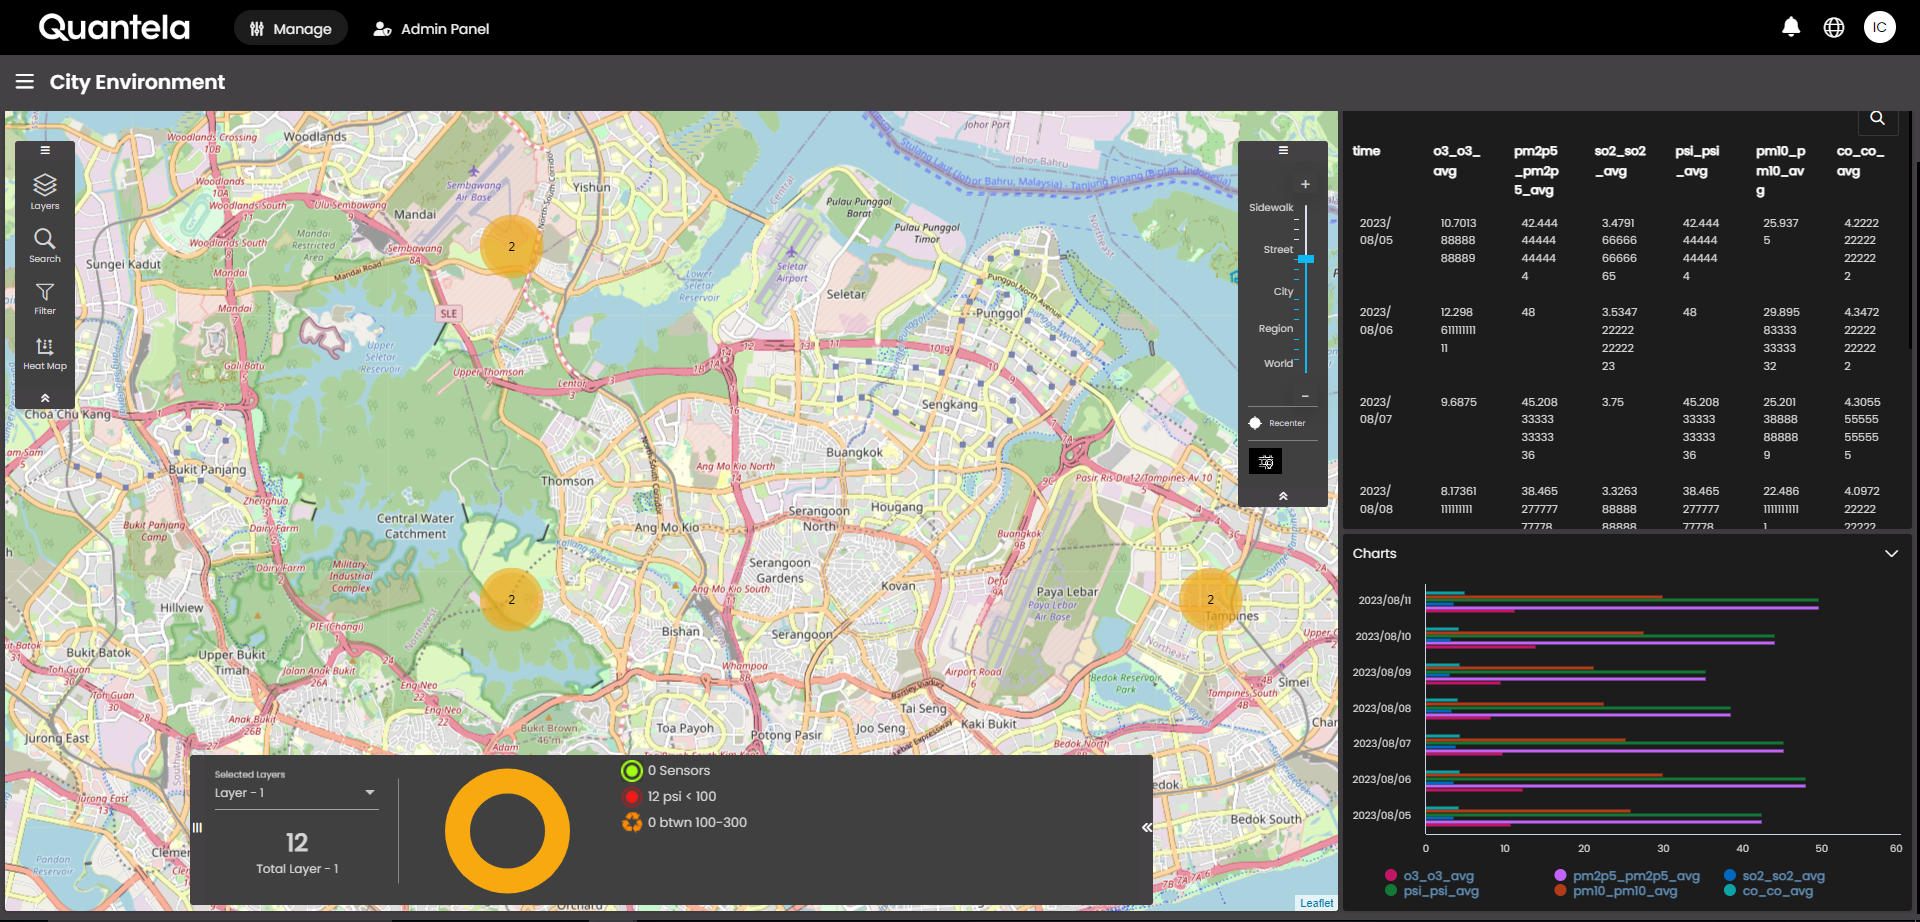
Once you login you can see the homepage/landing page.
Single Sign-On (SSO)
Active Directory Federation Service (ADFS)
If Active Directory Federation Service (ADFS) is to be used, users that are created in the Active Directory (AD) can sign-in with credentials that are provided to them. These users that are created in the AD are automatically synced into the platform.
Quantela platform can now participate in a federated SSO using SAML 2.0 protocol. Firstly, the users in the AD should have a Security Group assigned to them so that the corresponding role will be assigned. If there are any issues when assigning the role, the default role assigned to the user will be the Operator role.
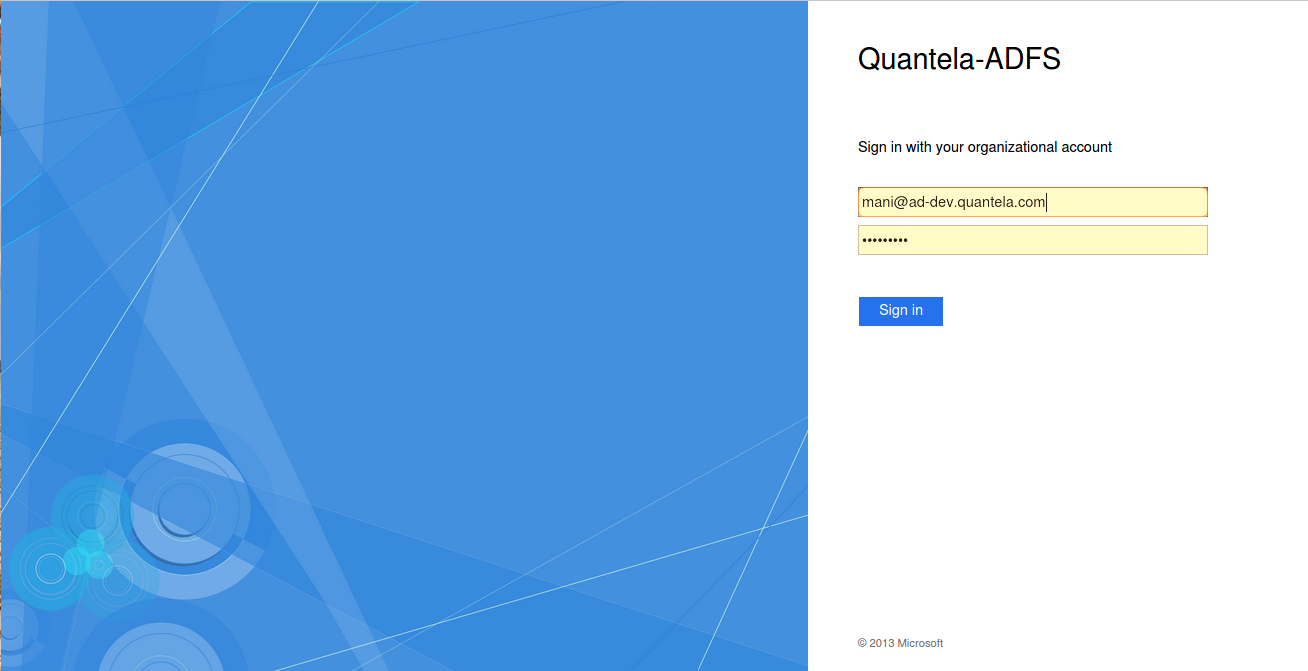
The following is an example of signing in through ADFS. Once all the configurations are done, you can sign-in with your credentials in the ADFS sign-in screen.
Open the SSO URL, that is provided to you, in your browser.
Enter your user name and password.
Click Sign in.
If you see the message
Incorrect user ID or password. Type the correct user ID and password, and try again., check and re-enter your credentials.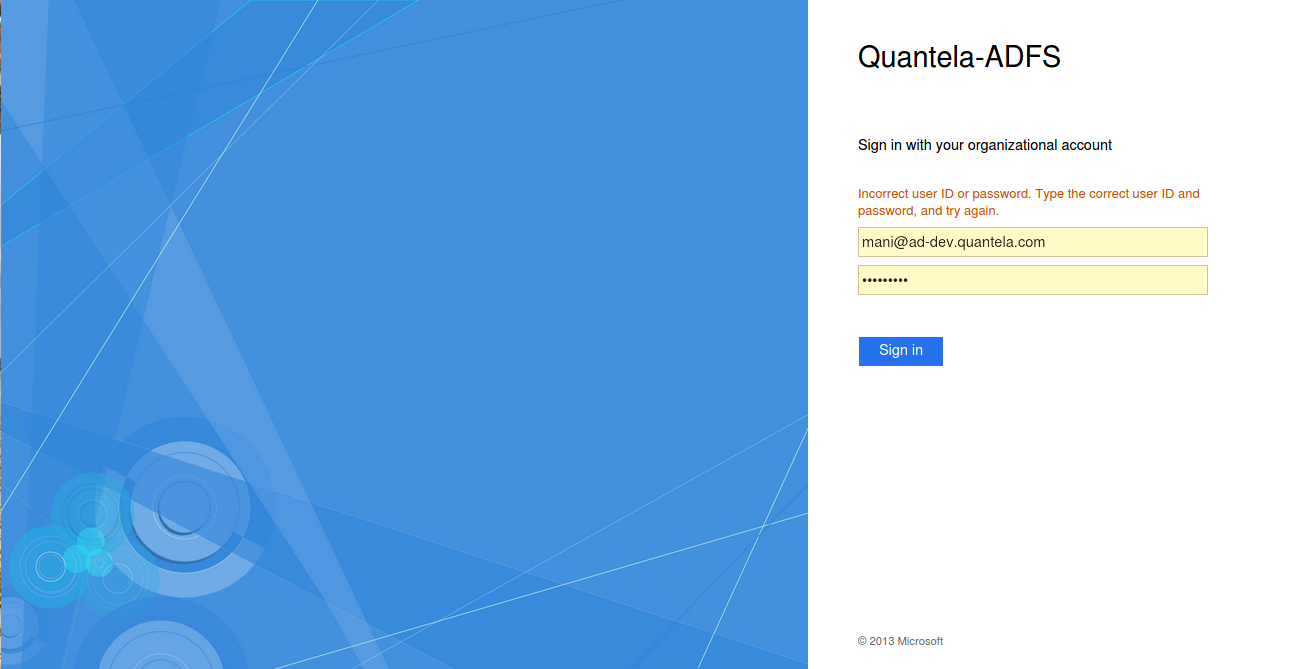
If you see the message
Your password has expired. Type your updated password and try again., check and re-enter your updated credentials.
Once you enter the correct credentials, you are redirected to the Quantela platform and opens a default dashboard setup.
SSO providers
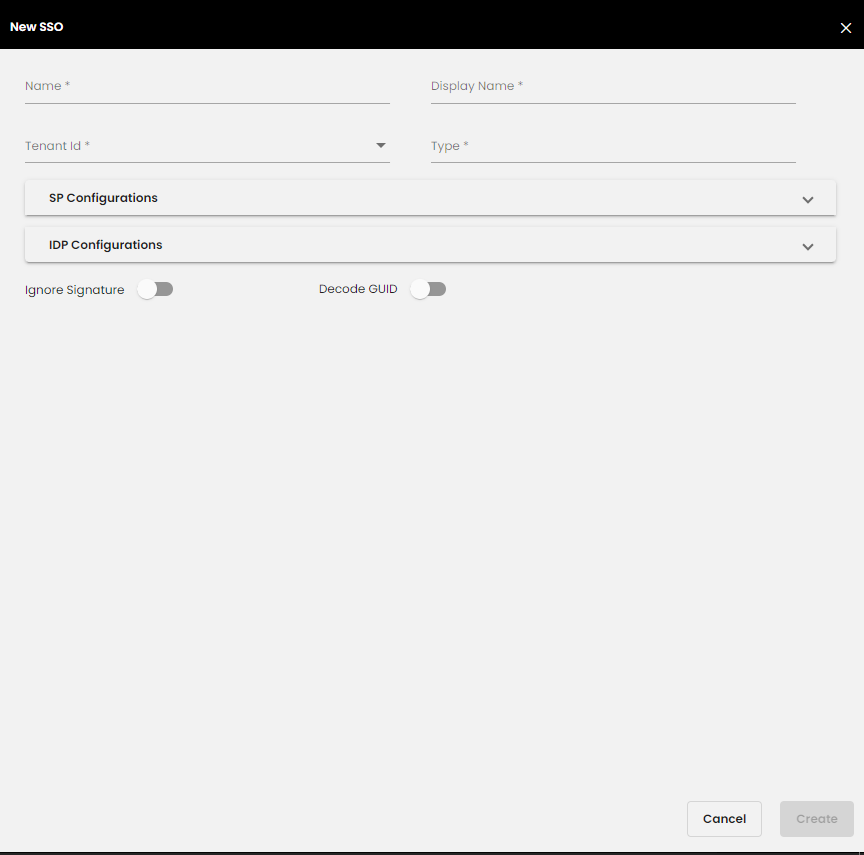
If SSO providers are to be used, Service Provider (SP) and Identity Provider (IDP) can be added and configured from the SSO section in the super admin side by the Devops team. The Service Provider configured here is the Quantela platform.
Once the Identity Provider is added, you will be able to see it listed in the sign-in screen below the Sign in button.

On clicking it, you will be redirected to the sign-in screen of the Identity Provider. For example,
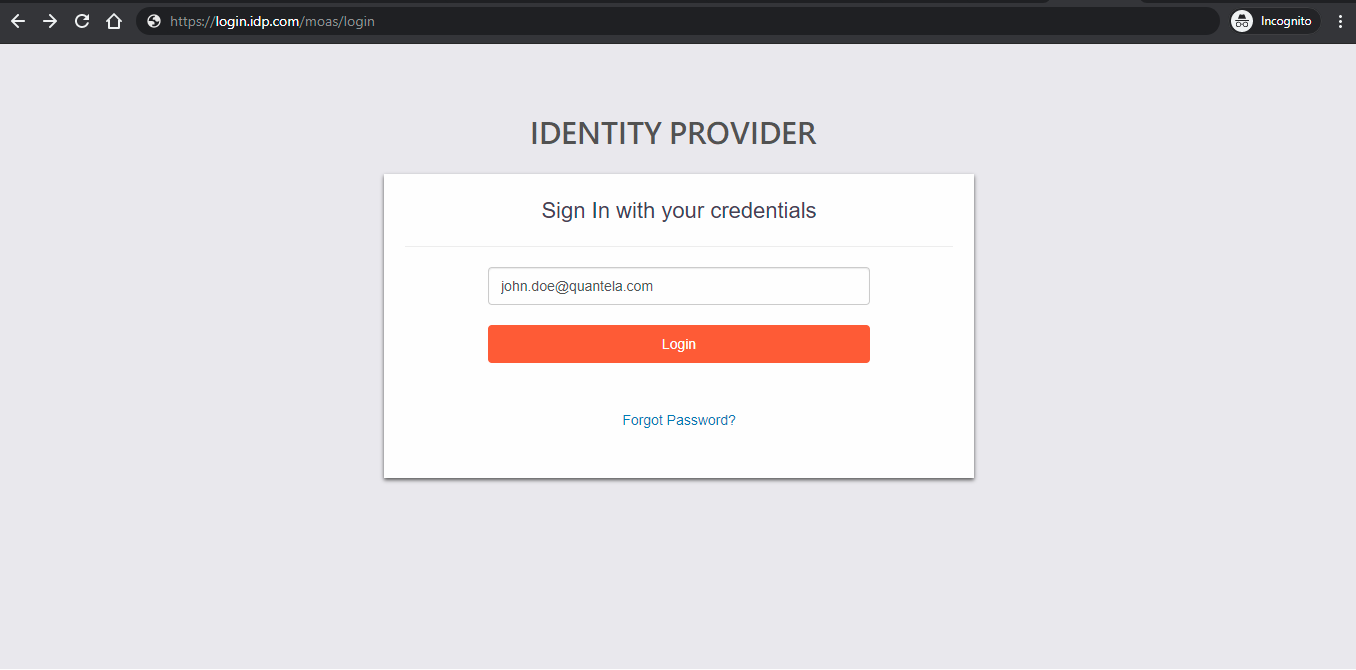
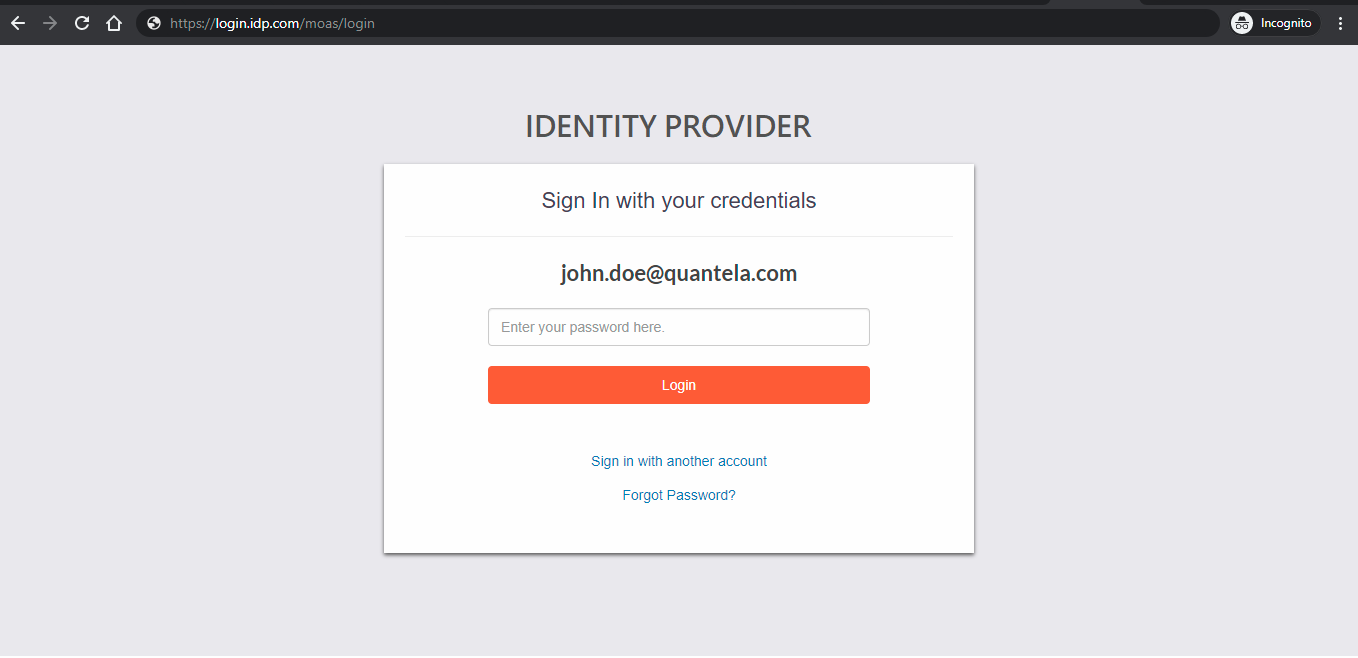
Once you enter the correct credentials, you are redirected to the Quantela platform and opens a default dashboard setup.
Hence, you can use the platform without additional authentication when moving from the client application to the Quantela platform. Therefore, this doesn’t require the user to re-login to the Quantela platform.