Create a SOP
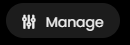
In the top left-hand corner of the main dashboard screen, click the Manage icon:
 .
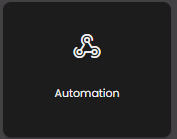
.On the Manage panel, click Automation
 .
.On the right-hand side of the SOP screen, click the SOP icon:
 .
.Depending on the how the SOP is to be triggered, drag one of the Events from the menu on the left of the screen to the studio canvas.
Click on the Configure icon within the event node to configure the event:
 .
.Select one of the rules that have been configured for this event.
Drag one or more Tasks from the list on the left to the canvas. These tasks will be automatically activated in response to the selected event.
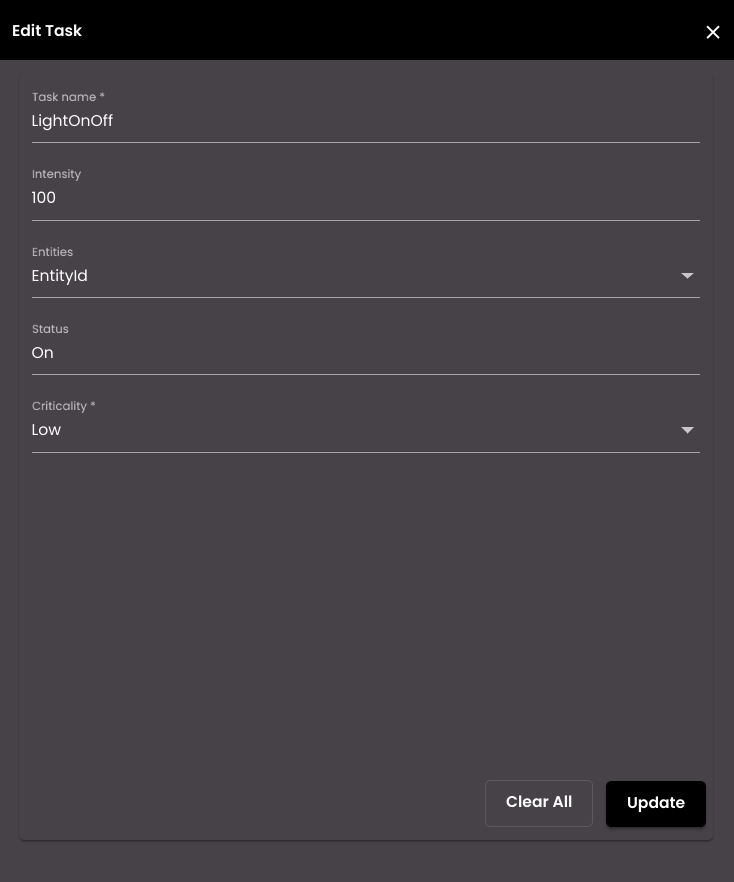
Click on the Configure icon within the task node to configure the task:
. The configuration options depend on the type of task:If you have one or more outbound adapters configured in the Quantela platform then these will be listed as additional tasks. Drag the task to the canvas and configure it as above. If the adapter has any input parameters then these will be listed in the task configuration so that you can specify corresponding values. You can either enter a Custom Value for each of these parameters, or you can select one of the event properties which should be bound to this input parameter at run-time. In the example illustrated below, the LightOnOff task requires three parameters - intensity, a light ID and an on/off value. In this case, the EntityId from the event has been used to identify the light, and a custom value of 'On' has been specified for the status and '100' for the intensity.
Select the Criticality of the task. This can be one of the following:
Low - the task will be raised with low priority.
Medium - the task will be raised with normal priority.
High - the task will be raised with high priority.
Once the tasks have been configured, enter the SOP Name.
Note
It must be 3-50 characters only.
Enter a Description for the SOP.
Select whether or not this task requires Approval.
If this task requires approval, select one or more authorizers from the Authorized Person drop-down. Each authorizer's role and department are displayed as well. An email requesting approval of the SOP is sent to the authorizer(s) selected.
Select the status of the SOP as either Active or In-Active.
Optionally, select any of the escalation rules configured in Escalation rules to be applied on this SOP.
When you have configured the SOP, click Create to save it.